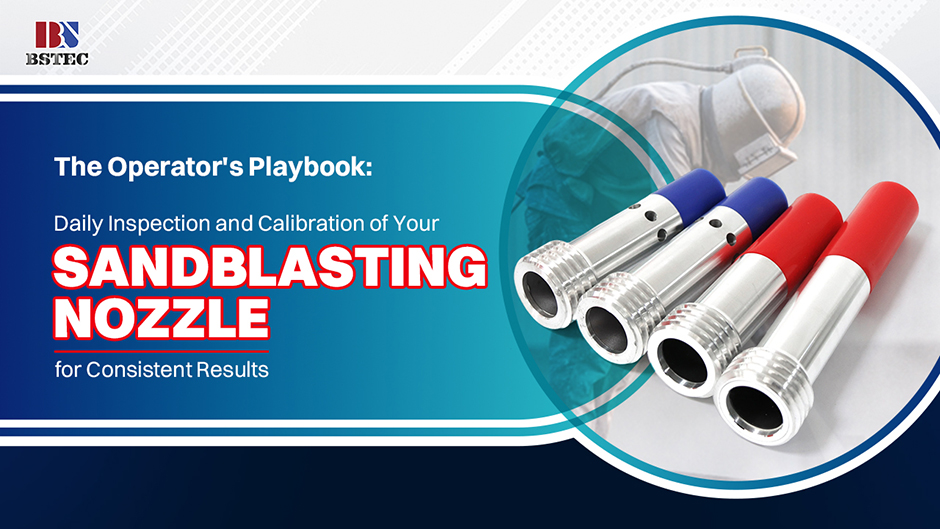
The Operator's Playbook: Daily Inspection and Calibration of Your Sandblasting Nozzle for Consistent Results
The Operator's Playbook: Daily Inspection and Calibration of Your Sandblasting Nozzle for Consistent Results

For a sandblasting operator, consistency is the hallmark of professionalism. Achieving a uniform surface profile, job after job, hinges on a often-overlooked daily ritual: the meticulous inspection and calibration of your nozzle. Treating this critical component as a simple accessory is a costly mistake. Integrating these steps into your daily routine is what separates master craftsmen from average performers.
Step 1: The Pre-Shift Visual and Tactile Inspection
Before you even turn on the compressor, your nozzle needs a quick but thorough check.
The Eye Test: Hold the nozzle up to a light source and look through the bore. The orifice should be a perfect, sharp circle. Any visible ovality, egg-shape, or "keyholing" means the nozzle is already producing an inefficient pattern and must be replaced immediately.
The Feel Test: Run your finger (carefully) around the inlet and outlet edges. Sharp, defined edges are good. Rounded, chipped, or uneven edges indicate advanced wear and will disrupt the laminar flow of the abrasive stream. Any detected roughness is a red flag.
Step 2: The Measurement - Your Most Important Diagnostic Tool
A visual inspection isn't enough. Quantifying wear is essential. Your most vital tool is a set of nozzle gauges or pin gauges.
1. Know Your Baseline: When you install a new nozzle, record its original bore size (e.g., 3/8" or 10mm).
2. The Daily Gauge: Each morning, select the nozzle gauge that corresponds to your nozzle's original size. Try to insert it. If it fits loosely or a larger gauge slides in easily, you have measurable wear.
3. The Replacement Threshold: As a universal rule, replace the nozzle once the bore has enlarged by 15-20% over its original diameter. For a 1/2 inch nozzle, this means replacement at around 0.575 to 0.6 inches. Continuing to use it beyond this point is false economy.
Step 3: System Calibration - Ensuring What You Set is What You Get
A perfect nozzle is only half the battle. You must ensure your equipment is delivering the right conditions for it to perform.
Pressure Calibration: Don't just trust the regulator on your compressor pot. Use a dead-weight tester or a calibrated gauge at the nozzle inlet to verify your working pressure. A 10-PSI discrepancy between the pot and the nozzle can mean the difference between a perfect profile and a failed one.
Pattern Test: Before starting on the actual work, blast a test surface (a scrap piece of metal) at a consistent distance and angle. A well-calibrated system with a good nozzle will produce a tight, even, and symmetrical pattern. A diffuse, star-shaped, or irregular pattern indicates a worn nozzle or incorrect pressure.
Step 4: Log and Rotate
Keep a simple logbook. Note the date a new nozzle was put into service and its initial size. Rotate between two or three nozzles on longer projects to distribute wear and extend the life of each one.
Making this playbook your daily habit is the simplest way to control costs and guarantee quality. For nozzles that deliver the precision and durability worthy of your meticulous care, trust a supplier committed to performance. Find your new most important tool in the BSTEC collection at www.cnbstec.com. Calibrate for consistency, and build your reputation on every blast.


